Pre-drilling for Joint Quality and Structural Stability
Pre-drilling is key to reliable fastening.
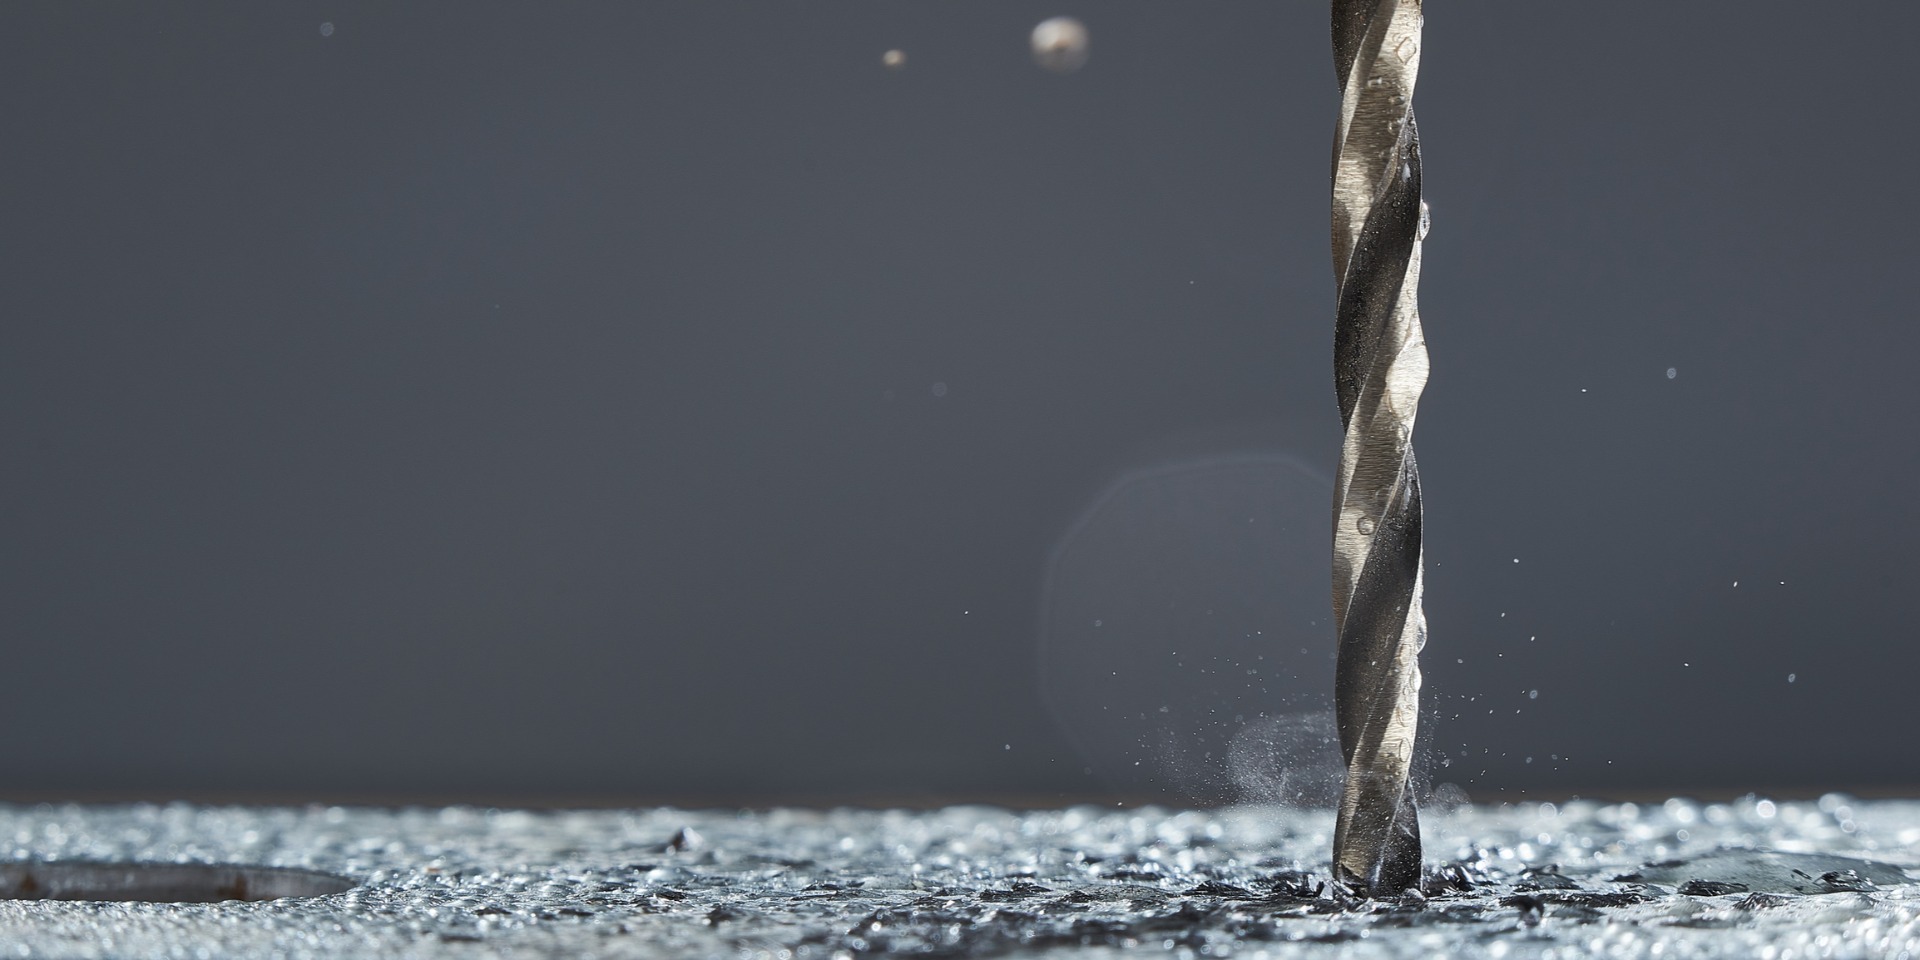
In professional construction, pre-drilling is a vital step to ensure joint strength and prevent material damage.
Proper pilot holes eliminate the risk of wood splitting or screw breakage. This guide outlines the essential principles of pre-drilling based on mechanical stress and practical application.
1. How Pre-drilling Affects Joint Quality and Structural Stability
Pre-drilling creates a clear path for the fastener, offering three primary benefits:
1. Prevents Material Splitting: Screws forced into wood or plastic create intense outward pressure. Pre-drilling removes material to relieve this stress, preventing cracking along the grain.
2. Ensures Precision: A pilot hole guides the screw along a set path, preventing deviation during installation and ensuring accurate component alignment.
3. Optimizes Thread Engagement: Pre-drilling allows threads to cut into the hole walls smoothly rather than compressing them, maximizing friction and pull-out resistance.
2. Materials and Installation Scenarios Where Pre-drilling is Essential
While self-drilling screws may bypass this step, pre-drilling remains mandatory in the following scenarios:
• Hardwoods: High-density woods like oak or teak require pilot holes to prevent snapped screw heads or wood bursting.
• Edge Fastening: When working near a material's edge, structural integrity is lower; pre-drilling prevents edge blowout.
• Metals and Hard Plastics: Brittle plastics (such as acrylic) and thick metals require pilot holes for proper thread cutting and chip clearance.
• High-End Finish Work: For cabinetry or premium furniture, pre-drilling with a countersink allows the screw head to sit flush for a professional finish.
3. Practical Guidelines for Matching Pilot Holes with Fasteners
Correct hole sizing is critical: holes that are too small increase resistance and breakage, while oversized holes reduce holding strength.
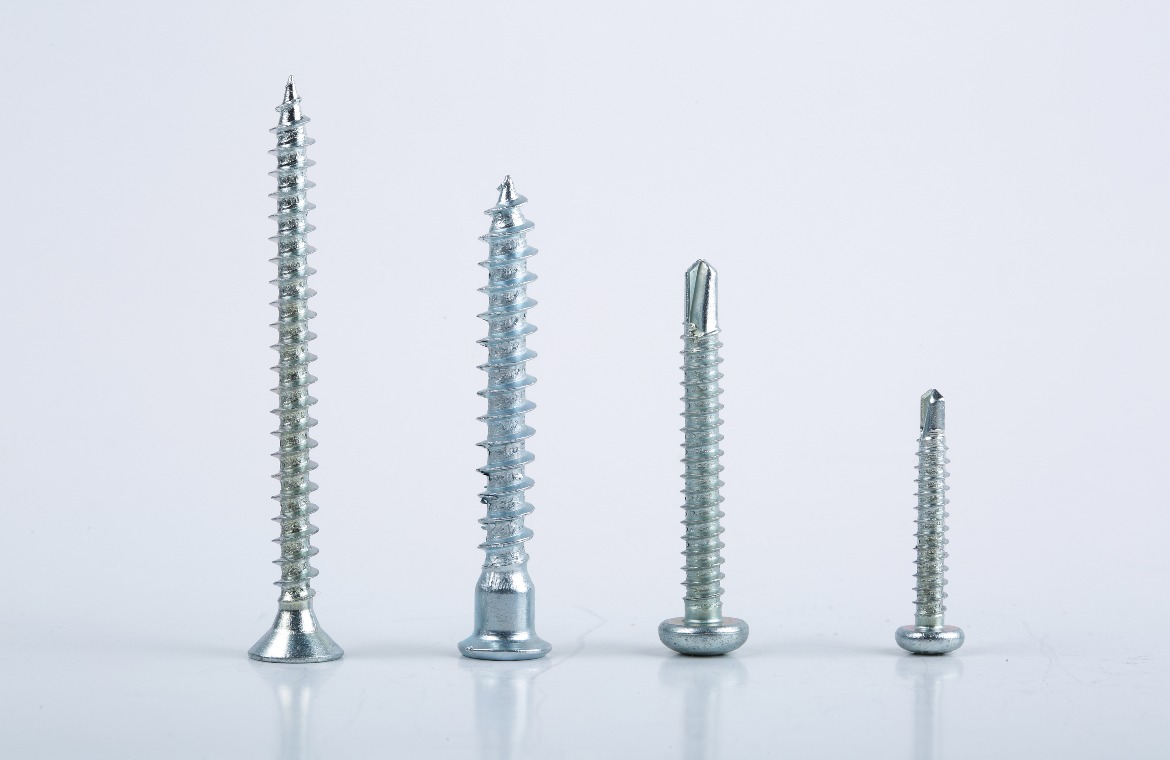
• Wood Screws: The hole diameter should match the screw’s root diameter (the center shaft excluding threads).
• Self-tapping Screws: For hard metals, the hole should be slightly larger than the root diameter; for soft metals, slightly smaller.
• Concrete Screws: Follow manufacturer specifications strictly, using masonry bits and depth control to ensure proper embedment.
4. Reducing Stripping and Breakage Through Proper Installation Practices
Following a standard workflow extends tool life and reduces fastener failure:
1. Marking: Use a center punch to set the exact position and prevent bit wander.
2. Debris Removal: Keep the bit vertical and use a “peck” motion to clear dust, preventing overheating.
3. Driving Speed: Start at low speed to avoid excessive torque that can strip the head or snap the screw.
4. Lubrication: Applying wax or lubricant to threads reduces friction and prevents thermal breakage.
Criteria Comparison
| Pre-drilling Recommended | Pre-drilling Optional | |
| Material | Hardwood, Acrylic, Thick Metal | Soft Pine, Drywall, Thin Plywood |
| Edge Distance | Near edges (< 3× screw diameter) | Center of panel |
| Screw Type | Wood Screws, Concrete Screws | Self-drilling / Self-tapping |
| Structural Risk | High-load / Reusable joints | Light decor / Single-use |
| Tool Required | Drill + Impact Driver | Impact Driver / Screwdriver |
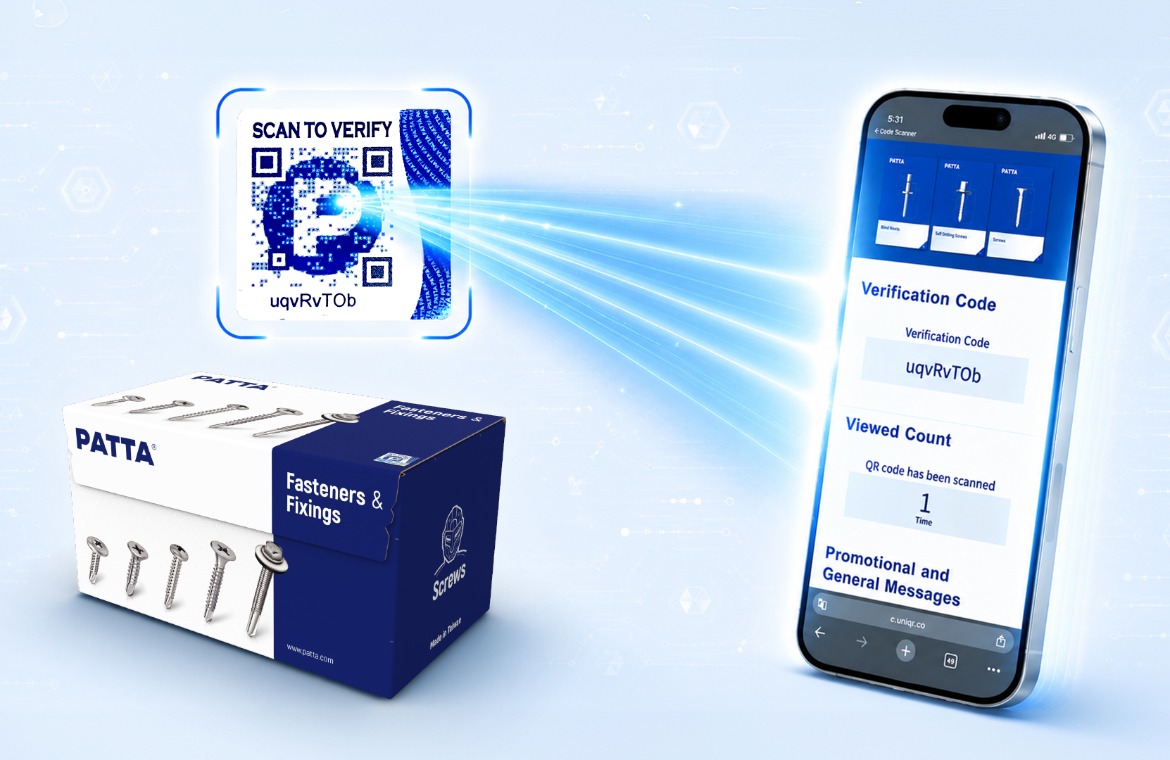
5. PATTA Provides Professional, Safe, and Efficient Fastening Solutions
The right method and material are the foundation of any successful project. Contact PATTA for professional consultation and customized fastening solutions.
https://www.patta.com/contact/